-
 sales@fulikaisz.com.cn
-
 13827489472
 sales@fulikaisz.com.cn
 13827489472

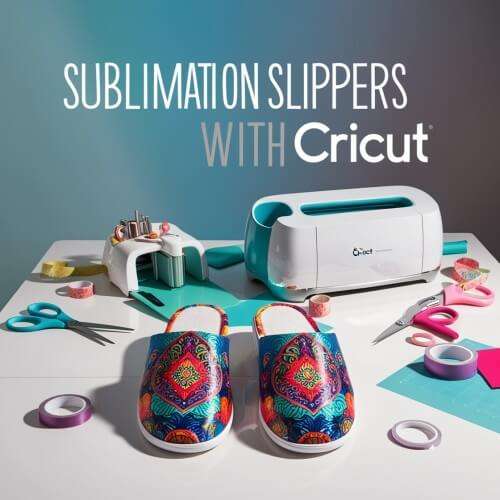
Sublimation designs on slippers can be personalized to reflect one’s personality or to make a perfect gift for someone special. You can make the process even more precise and professional if you use a Cricut cutting machine. We will guide you through the whole process of making sublimation slippers, from designing to perfect printing. Let’s get started!
Before you dive into the process, gather these essential materials:
• Sublimation Printer – Comes with sublimation ink for better printing of designs.
• Sublimation Slipper Blanks – Slipper blanks that are polyester coated or those that are made specifically for sublimation.
• Cricut Machine – Explore, Maker, or Joy models work great.
Cricut Cutting Mat – Standard grip or light grip mat.
• Heat Press – Provides consistent heat and pressure (better than a standard iron).
• Heat-Resistant Tape – Keeps your design in place during pressing.
• Design Software – Cricut Design Space, Canva, or Photoshop for creating and resizing designs.
• Butcher Paper or Parchment Paper – Protects your heat press from ink transfer.
• Lint Roller – Removes dust and debris for a clean sublimation surface.
Follow these steps to bring your creative slipper design to life:
The first step is to create or find the perfect design for your slippers.
• Open Cricut Design Space or your preferred design software.
• Upload or design your artwork.
• Ensure you mirror the image before printing; this step is crucial for sublimation.
• Adjust the design dimensions to fit the size of your slipper blanks.
Once your design is ready:
• Print it using a sublimation printer with sublimation ink on sublimation paper.
• Use high-quality print settings for vibrant, crisp results.
If your design needs precise placement:
• Upload your printed design to Cricut Design Space and use the “Print then Cut” feature.
• Place the sublimation paper onto the Cricut cutting mat and cut around the design for accuracy.
• Use a lint roller to clean the surface of your slippers. Any dust or debris can ruin the transfer.
• Preheat the slippers using your heat press for 5–10 seconds to eliminate any moisture.
• Place the sublimation paper (design-side down) onto the slipper blanks.
• Use heat-resistant tape to hold the design securely in place. This prevents shifting during the pressing process.
Now for the exciting part:
• Adjust the heat press to the right temperature and time usually 380- 400°F for 40-60 seconds.
• Put a piece of butcher paper or parchment paper over the slippers to avoid the heat press from absorbing ink.
• Press the design onto the slippers with firm, even pressure.
• Once the timer is up, carefully remove the sublimation paper while the slippers are still warm.
• Let the slippers cool completely before handling to avoid smudging or distorting the design.
Take a close look at your finished slippers:
• Check for vibrant colors and smooth edges.
• If any areas appear faint, ensure your heat press settings are consistent next time.
• Always use sublimation-ready blanks to guarantee the design adheres properly.
• Perform test prints and presses on scrap materials to refine your technique.
• Keep your heat press clean by using butcher paper during every press.
These slippers are ideal for promotional purposes, gifts or other branding needs as well as for anyone who is interested in starting a business. They are versatile, fashionable, and once you learn how to make them, then it becomes very easy. Also, with a Cricut cutting machine, you are assured of the best results especially when cutting shapes and other designs.
By following this guide, you’ll be well on your way to creating beautiful sublimation slippers that are as functional as they are eye-catching. Ready to get started? Let your creativity shine!
1. Can I do sublimation with my Cricut?
Yes, but with a twist! Cricut machines are not designed for printing sublimation designs directly. However, you can use them to cut sublimation designs printed from a sublimation printer. This makes Cricut an excellent tool for precise cuts and customizations when creating sublimation projects.
2. What is Cricut Maker?
The Cricut Maker is an all-around cutting machine that can cut through paper, vinyl, fabric, leather as well as thin wood. It’s perfect for crafters looking for more capabilities beyond the basics offered by other Cricut machines. With its Adaptive Tool System, the Cricut Maker can cut, score, write, and engrave with incredible precision.
The Cricut Maker is capable of cutting material with a thickness of up to 2.4 mm (3/32 inch) using the Knife Blade. This includes materials like balsa wood, chipboard, and leather. Keep in mind that cutting thicker materials may require multiple passes for a clean cut.
Have any tips or questions about making sublimation slippers? Share them in the comments below!